Ready to explore the vast world of *Dead Rails* without facing an untimely demise? You're in good company. Beyond your gear and companions, choosing the right class can make all the difference. That's why I've put together the **ultimate *Dead Rails* class tier list** to save you from endless trial-and-error. I've done the legwork so you don't have to—trust me, it's a hassle you'll want to skip.
Recommended Videos
Table of contents
All Dead Rails Class Tier List S Tier Dead Rails Classes A Tier Dead Rails Classes B Tier Dead Rails Classes C Tier Dead Rails Classes D Tier Dead Rails Classes
All Dead Rails Class Tier List
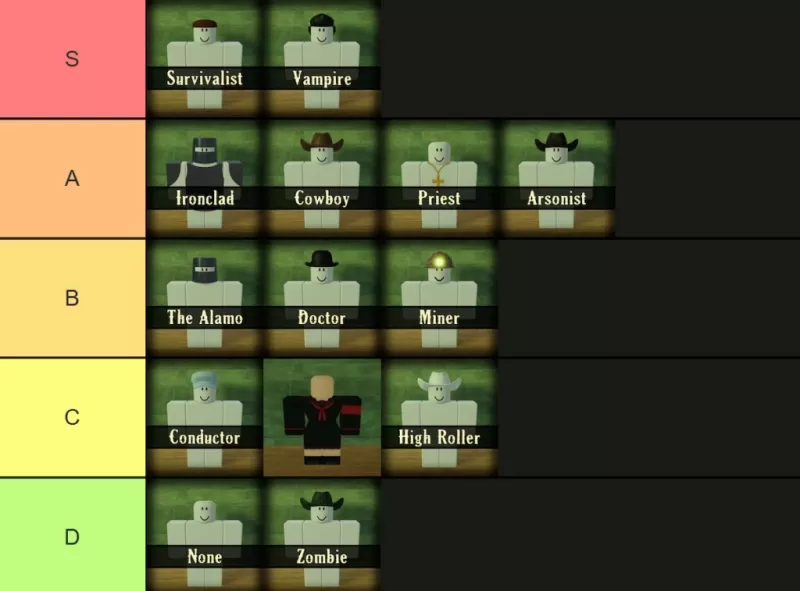 Image by Destructoid
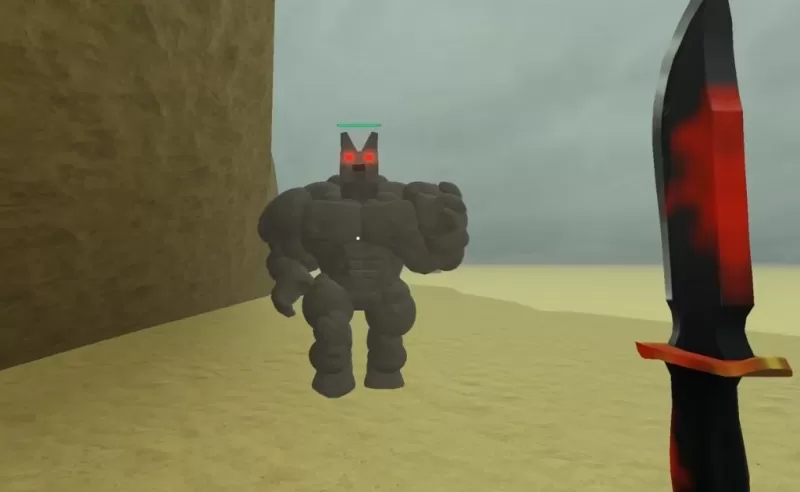
I know this Dead Rails class tier list might stir up some debate, but it's the truth. You simply can't go wrong with the Vampire, even after all the recent updates. The Survivalist has surged ahead too, but it's a real letdown that the Zombie class remains underwhelming and can't even use Snake Oil. What's the deal with that? Still, teamwork plays a role, albeit a small one. Remember, the goal is to enjoy the game with your friends, not just to min-max.
S Tier Dead Rails Classes
 Screenshot by Destructoid
You already know it's all about raw damage output, and who better than the Survivalist with its unique effect or the lightning-fast Vampire? Sure, you might argue for the Ironclad, but there are only two true contenders for the top spot:
| **Name** | **Cost** | **Info** |
| Survivalist | 75 | The Survivalist starts with a Tomahawk and gets even more dangerous as your health drops. Interestingly, even at full health, you hit harder than anyone else—although that might be nerfed soon. It excels against tougher enemies that don't go down easily. Other classes can handle them, but none pack the same punch the Survivalist used to have. |
| Vampire | 75 | The Vampire thrives on speed and aggression. You're faster than a horse or even a sprinting zombie, and your melee attacks are devastating—most zombies fall in three swings. The downside? Sunlight burns, so you need to stick to the shadows. On the bright side, you start with a Vampire Knife that heals you with every hit, making survival all about maintaining the offensive. |
A Tier Dead Rails Classes
 Screenshot by Destructoid
Here's where we find classes in the Dead Rails tier list that are still excellent but not quite as strong for pure survival. They offer solid damage and starting gear, though they're not the best for solo runs. In my view, the Ironclad has the most potential.
| **Name** | **Cost** | **Info** |
| Ironclad | 100 | The Ironclad comes ready for battle, decked out in full armor that makes you much harder to kill. The trade-off? You're about 10% slower. Not ideal for solo runs; you'll need at least one ally watching your back. In a team, shotguns are your best bet, as you're built for close-quarters combat. |
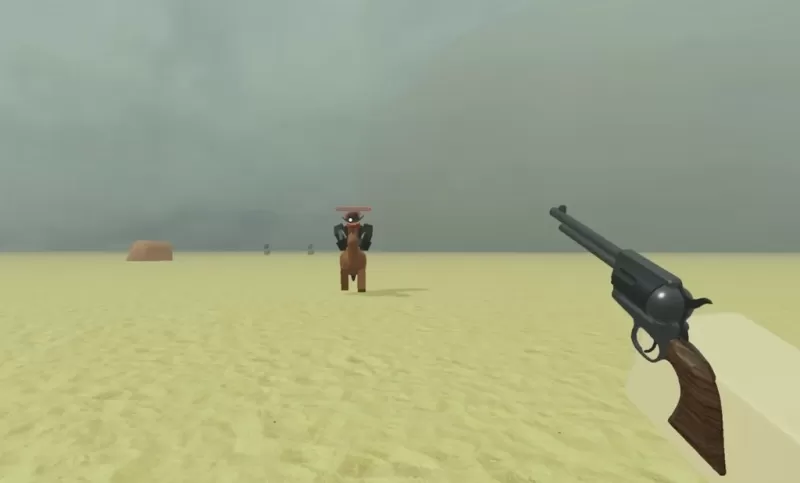
| Cowboy | 50 | The Cowboy starts strong with a revolver, two boxes of ammo, and your own horse. This combo makes early-game fights easier and gives you the speed to survive chaos, especially during those tough Blood Moon nights. With the Game Pass, you can sell the revolver for extra cash to start with an even better loadout. It's a bargain at this price. |
| Priest | 75 | The Priest brings divine tools to the fight—armed with Crucifixes and Holy Water that can't be sold but are potent against enemies. You're also immune to lightning, making storms irrelevant. Not suited for solo play, but invaluable in larger squads where their throwables can shift the balance in your team's favor. Think of them as spiritual support with a powerful throw. |
| Arsonist | 20 | The Arsonist thrives in chaos, starting with Molotovs and a significant boost to fire damage. They're perfect for wiping out groups quickly, ideal for clearing towns fast. They work best in smaller areas where you can control the pace, and a horse enhances the hit-and-run strategy. |
B Tier Dead Rails Classes
 Screenshot by Destructoid
These classes are specialists, excelling in specific situations. The Doctor, for instance, is great due to its price and support value, but you wouldn't rely on it for damage. The same goes for the other two, yet all three are invaluable in group settings.
| **Name** | **Cost** | **Info** |
| The Alamo | 50 | The Alamo is all about fortification. Starting with Sheet Metal, Barbed Wire, and a helmet, you're a natural at securing the Train early on. If your team needs someone to turn the cabin into a fortress and slow down enemy waves, this is your go-to. It's not flashy, but it's incredibly effective under pressure. |
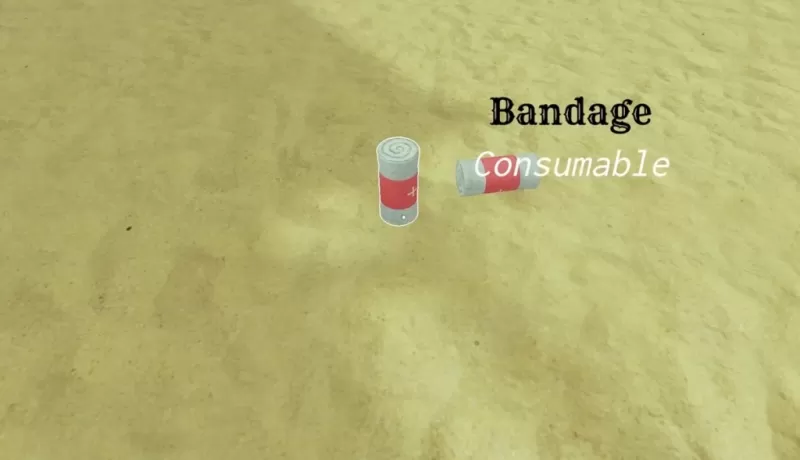
| Doctor | 15 | The Doctor is your lifeline in dire situations, equipped with healing supplies and the ability to revive teammates at the cost of half their own health. It's one of the most affordable classes (tied with the Miner) but invaluable in group play. Keep them safe—they can turn a wipe into a comeback. Selling all the bandages and snake oil nets you a $40 boost. |
| Miner | 15 | The Miner is built for resource runs and nighttime exploration. With a helmet that lights the way and a Pickaxe that breaks ore in two swings, they're the fastest at gathering materials, especially the new ore types. They also come with a bit of Coal to start. Not combat-focused, but their utility is unmatched for the price. |
C Tier Dead Rails Classes
 Screenshot by Destructoid
Similar to the previous section, these classes offer great utility but are less valuable for solo play. The Conductor is almost essential for a full team, while the new Horse class is more of a novelty than a reliable choice.
| **Name** | **Cost** | **Info** |
| Conductor | 50 | The Conductor is your driver—literally. Starting with Coal, they can push the Train to a top speed of 84, crucial for quick escapes. The downside? No melee weapon at spawn, making them vulnerable early on. Ensure they're protected—they keep the squad moving. Thankfully, they no longer take health penalties, making them less fragile. |
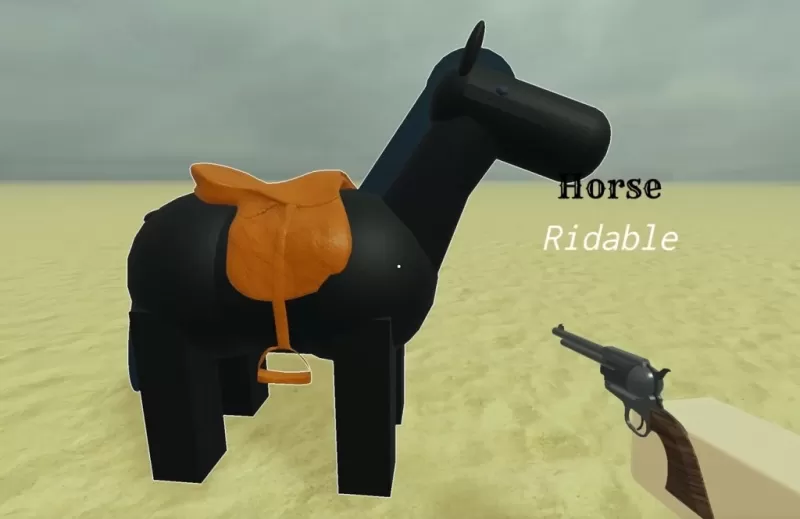
| Horse | Unlockable through the Horsing Around gamemode | The Horse Class turns you into a horse—no kidding. Unlocked through the 2025 April Fools “Horsing Around” event, this novelty class gives you typical horse stats: 32 studs per second speed, no passive healing, and a full-sized horse hitbox. Tight spaces like doorframes and the train cab can be tricky. You can even saddle up on players and ride them like a regular horse, but you can't sit on the train or ride other horses. |
| High Roller | 50 | The High Roller is all about quick cash—you earn 1.5x the money from bags, giving you a strong start to gear up. However, this also makes you a lightning rod during storms, with a greatly increased chance of getting struck. High risk, high reward—ideal if you're looking to stack cash early and don't mind the danger. |
D Tier Dead Rails Classes
 Screenshot by Destructoid
Every tier list has its bottom, and this one's no exception. The default class has no particular downsides but also no perks, making it a blank slate perfect for beginners to learn the ropes. Zombies, however, are simply terrible—I wouldn't wish them on anyone.
| **Name** | **Cost** | **Info** |
| None | Free | The None class is the default—just you, a shovel, and whatever you can scavenge. No perks, but no drawbacks either. It's perfect for saving up bonds and figuring out your playstyle before choosing a class. Simple, straightforward, and surprisingly effective if used wisely. |
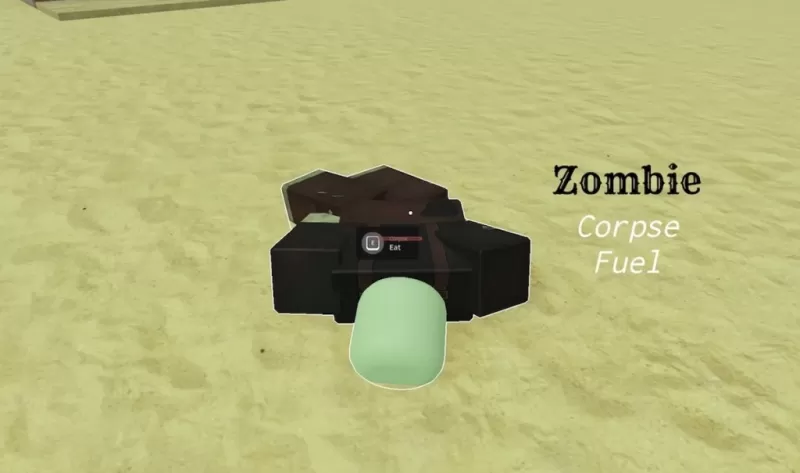
| Zombie | 75 | The Zombie thrives in chaos—feeding on corpses to heal and sneaking past enemies with ease thanks to their undead nature. No access to Bandages or Snake Oil, but you make up for it with stealth and sustainability, especially in areas with many bodies. Unfortunately, it's still largely ineffective. |
That's it! I hope this Dead Rails class tier list helps you break records and take down mobs with ease. Don't forget to use our Dead Rails codes and check out Dead Rails challenges. Who knows what the next update will bring?